I was giving some thought to all of the things that will need to be done this Spring and Summer with the plants. There will be repotting that needs to be done, and cuttings to be rooted, seeds to be germinated. Then I started thinking about the processes that must happen for the seeds to germinate, and the cuttings to root. The processes that cause branches to grow longer, for roots to grow and expand through the media. All of these processes are related to plant hormones. Some plant hormones inhibit functions, while others initiate functions and processes. If you have an understanding of what the hormones are, what they do, and how to use them, it takes your abilities to a whole new level. This topic is quite expansive and can be technical. With this in mind, I’m going to give some basic knowledge that you can use to build on. Take what’s discussed here and use it as a springboard to get where you want to be.
There are five common types of plant hormones; Auxins, Abscisic Acid, Cytokinins, Ethylene, and Gibberellin. Of the five hormones Abscisic Acid and Ethylene are not used much with ornamental plants. Ethylene is primarily used to encourage fruit ripening and the dropping of leaves. Abscisic Acid inhibits growth in maturing leaves and inhibits seed germination.
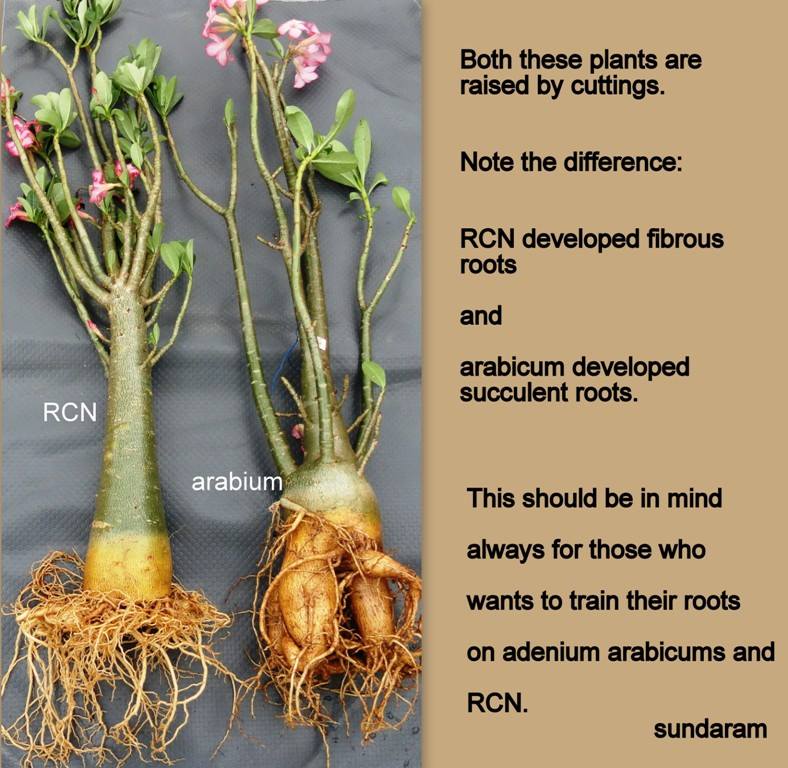
Auxins are known to cause many different response in plants, some of them are in combination with other hormones. Auxin stand alone responses include cell elongation, stimulates differentiation of phloem and xylem, can induce fruit set and growth in many plants, stimulates root initiation on stem cuttings, delays leaf senescence, delays fruit ripening, stimulates growth of flower parts and mediates tropistic responces to gravity and light.
Cytokinins are compounds that are known to stimulate cell division, stimulates growth of lateral buds, and stimulates leaf expansion. There are about 136 different types of gibberellins derived from the basic GA skeleton, and are known to facilitate specific responses in different plants. Some of these responses include the stimulation of stem elongation via cell division and elongation, can cause the absence of seeds in fruit development, aids in breaking seed dormancy, initiates sex development in dioecious flowers, can aid in stimulating bolting and flowering in response to longer days, and delay senescence in leaves and citrus fruit.
As you can see plant hormones are essential in almost every function of a plant, so if you can understand the plant hormones function it gives you more control in the cultivation of your plant. To expand on this thought, if you are growing a plant and it requires branching for flowers or fruit, you can use GA’s to to stimulate the stem elongation. If you are trying to propagate a favorite plant by cutting you can use auxins to help develop new roots on your cuttings. I hope this article helps get you thinking about how you can be a better grower by understanding and using plant hormones. If you find this writing useful please help others find it by clicking on one of the social media buttons below.
~Michael
38.998950
-84.626611
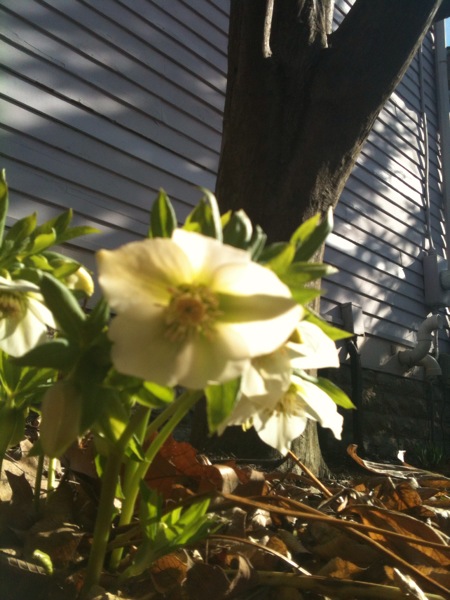
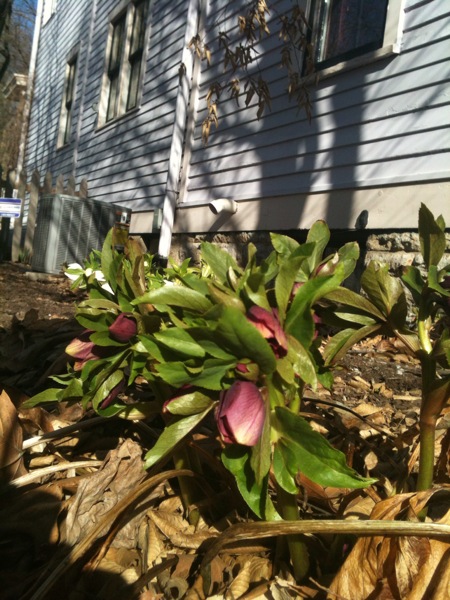
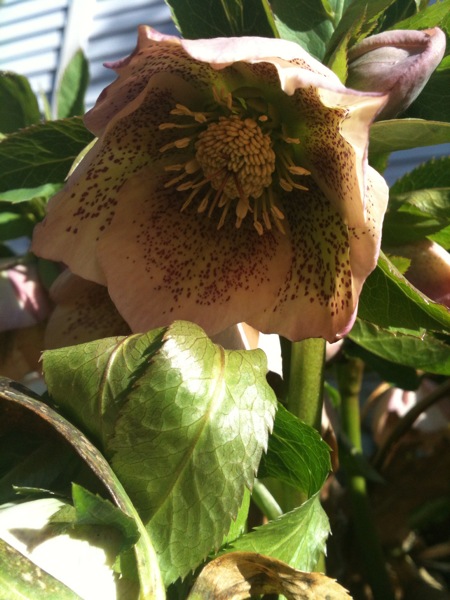
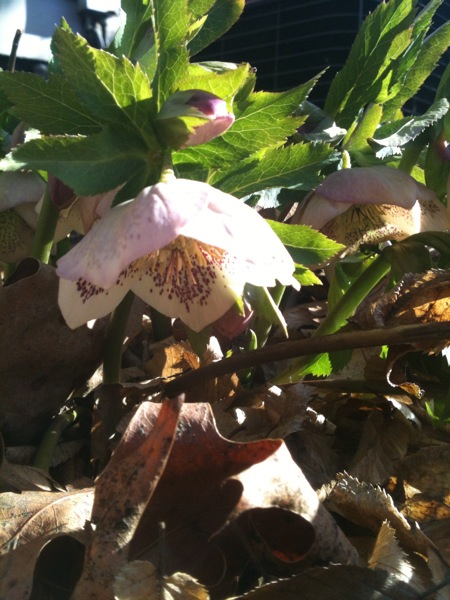

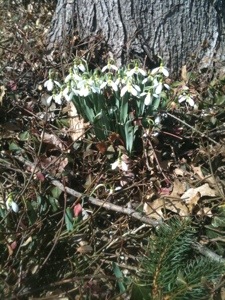
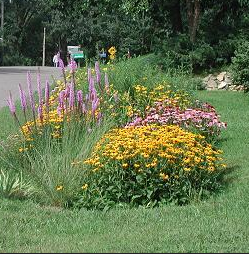
 We have been blessed with some nice weather this afternoon so my wife and I decided to get out in the yard for a while and clean up some of the flower beds around the house and down by the street. I must say that it feels really good to feel the warmth of the sun once again, it’s kind of like an old friend you haven’t seen for a while. Getting down on my knees and working in the flower beds is like an old familiar place that I was happy to reconnect with. Here in Northern Kentucky we are considered a USDA Zone 6, and are seeing Early Spring flowers emerging from the ground as the soil begins to warm. Many of us are starting to get that Spring itch, especially after a more active than normal Winter. That got me to thinking about what I was doing, and what was best for the plants and having a really nice Spring show this year. So I’d like to leave you with a few thoughts before you begin your Spring clean up jobs.